
Shoulder stand demands neck clearance. Flat-floor setups drive the seventh cervical vertebra directly into the floor under the combined weight of your torso, pelvis, and legs. This compressive load flattens the natural inward curve of the neck, forcing the cervical spine into extreme flexion. Without an elevated platform beneath the shoulders, you trade structural stability for joint strain, which increases the likelihood of long-term disc and ligament irritation.
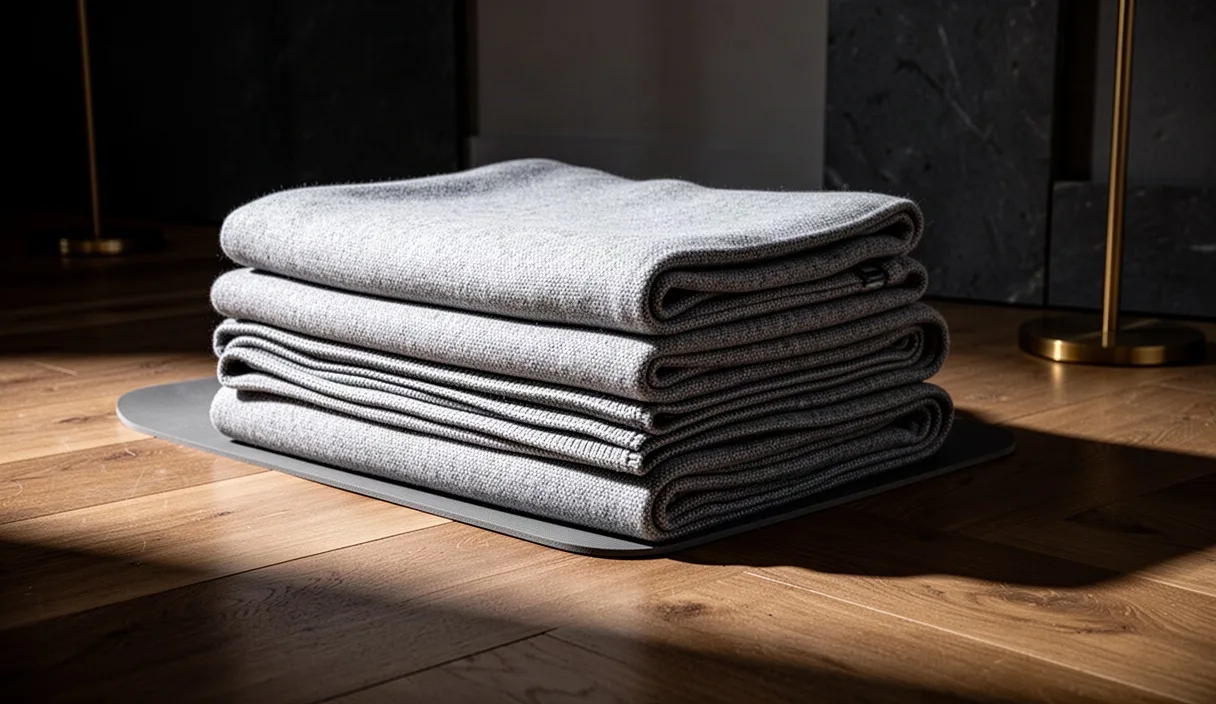
A firm stack of folded blankets creates an artificial ledge that spares your cervical spine. By elevating the shoulders between 5 and 10 centimeters above the floor, the head drops backward into a neutral drop-off zone. This configuration preserves the cervical curve while allowing the upper back to support the vertical load of Salamba Sarvangasana. Setting up this support takes less than three minutes, but it requires the right blanket materials, precise folding habits, and accurate body placement.
Cervical spine compression risks in unsupported inversions
The human cervical spine naturally curves inward toward the front of the throat, an anatomical posture termed cervical lordosis. In a standing position, this curve manages shock absorption and supports the skull, which weighs between 4.5 and 5.5 kilograms in the average adult. In an unsupported shoulder stand performed flat on a standard sticky mat, the neck flexes forward to an angle approaching 90 degrees. Add roughly 70 percent of your total body mass bearing directly down through the shoulders and spine, and that natural curve reverses entirely under heavy axial loading.
The C7 vertebra, visible as the prominent bony protrusion at the base of your neck, acts as the primary mechanical pivot on a bare floor. Subjecting this specific bone and its adjacent discs to acute shearing force leads to predictable physical issues:
- Disc protrusion or extrusion, where the gelatinous nucleus pulposus presses outward against spinal nerves.
- Chronic strain of the trapezius, levator scapulae, and rhomboid muscular networks as they contract defensively to resist neck collapse.
- Impingement of the brachial plexus nerves, presenting as tingling or numbness down the arms and into the fingers.
- Micro-tearing of the posterior longitudinal ligament, which stabilizes the back of the vertebral bodies.
Individuals with diagnosed degenerative disc disease, osteopenia, cervical joint mobility, or cardiovascular wellness should avoid loaded cervical flexion altogether until they consult an orthopedist or physical therapist. Props cannot eliminate structural contraindications, but for practitioners cleared for inversions, an elevated blanket stack decreases the cervical flexion angle from 90 degrees down to a safer 60 to 70 degrees. This difference allows the dorsal thoracic spine to take the load, which is anatomically suited to bear compressive weight.
Blanket density: cotton weave versus acrylic fluff
Do not use bed blankets, fleece throws, or soft acrylic studio blankets to build an inversion base. Soft textiles squash unevenly under pressure, causing the shoulders to tilt, slide, or collapse mid-pose. The ideal prop is a dense, woven Mexican-style blanket or a tightly woven solid cotton yoga blanket. Wool blankets offer good density, but they must be woven tightly rather than knitted to prevent stretching along the seams.
Density dictates how much your platform drops once your full body weight moves upside down. If a four-blanket stack compresses from an unloaded height of 8 centimeters down to 2.5 centimeters when loaded, your neck loses its clearance instantly. Recycled cotton and dense wool models provide predictable resistance, compressing less than 1.5 centimeters under load, keeping the spine elevated safely above the floor level.
| Material Type | Weight Per Blanket | Stack Compression Under Load | Surface Firmness | Crease Integrity |
|---|---|---|---|---|
| Solid Woven Cotton | 1.4 to 1.8 kg | 1.0 to 1.4 cm | High | Rigid, square folds |
| Dense Wool Felt | 1.6 to 2.1 kg | 0.8 to 1.2 cm | Very High | Firm, rounded folds |
| Mexican Acrylic Blend | 0.9 to 1.2 kg | 2.5 to 3.5 cm | Moderate to Low | Loose, wavy folds |
| Plush Fleece or Poly | 0.4 to 0.7 kg | 4.0 to 6.0 cm | Poor | Spongy, collapses |
Assess your blankets before folding. Unfold each blanket completely and run your hands over the fabric. You are checking for thick center seams, irregular bulk, or stretched patches. If you use mixed styles, place your stiffest, heaviest cotton blankets at the top of the stack where the shoulder points directly rest. Softer or thinner blankets must sit at the bottom, or be discarded from the setup entirely.
Step by step folding technique for flat edges
A sloppy blanket fold produces an uneven, lumpy surface that tilts the pelvis and twists the neck during an inversion. Follow these physical actions to produce clean, sharp edges across every blanket in your platform.
Clear and shake the fabric
Pick up the blanket by two corners along its longer edge. Snap the fabric firmly in the air twice to clear interior folds and bunching. Spread the blanket out flat on a hard floor, not on a plush carpet or soft mat, so you can control the tension across every seam.
Make the primary lengthwise fold
Locate the two short ends of the blanket. Bring the short edge on your left directly across to meet the short edge on your right, cutting the total length in half. Smooth the fabric outward with the palms of your hands, starting from the center and working toward the margins to drive out air pockets. Line up the edges precisely, leaving no overhang.
Execute the secondary crosswise fold
Take the folded bottom edge and bring it directly to the top edge, creating a dense quarter-fold rectangle. Press the crease firmly with your forearms. Check the four corners. If the fabric pulls diagonally or forms a bulge in the center, undo this fold, pull the corners taut, and refold. Symmetry is mandatory for joint balance.
Form the final working shape
Take the clean, smooth folded edge and fold the blanket in half one more time to produce a rectangle roughly 50 centimeters wide by 65 centimeters long. One long side will display a pristine, continuous fold with zero raw edges, fringe, or seams. This smooth side is your working ledge.
Stack the units
Repeat this fold across three to four identical blankets. Place the first folded blanket on the floor. Lay the second blanket directly over the first, aligning all four edges flush. Do not stagger the layers. The clean folded edges must form a uniform, vertical cliff face. Run your palm down this wall. If you feel steps, shelves, or recesses between the layers, slide the blankets individually until the vertical wall feels entirely flat.
Positioning the shoulder rim along the folded ledge
The boundary between the folded blankets and the bare floor serves as your safety transition zone. The blankets support your shoulders and upper back. The bare floor supports your skull. Your neck spans the gap between the two, suspended freely without pressure.
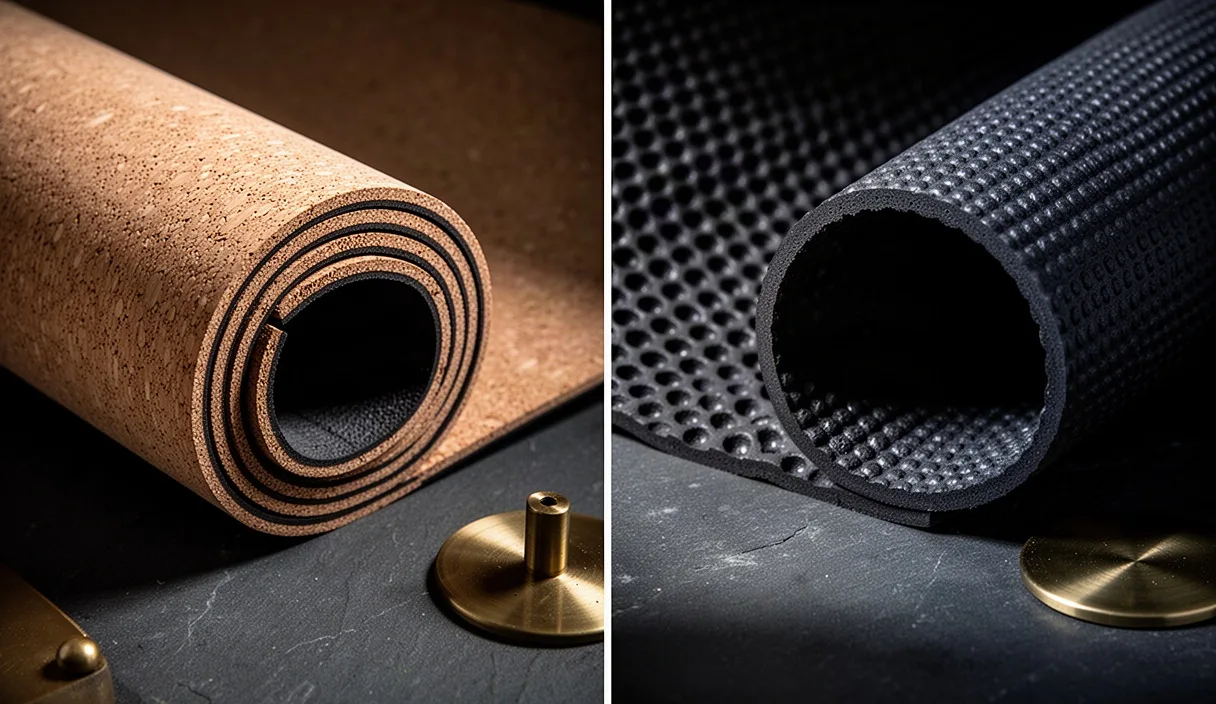
Place a non-slip yoga mat across the top of your blanket stack, wrapping it around the front edge and tucking it underneath, or place a second sticky mat over the stack to stop sliding. The top blanket must not slip backward under the drag of your shoulder blades. Lie down on the platform on your back before lifting your legs, checking your dimensions with these physical markers:
- The tops of your shoulders must sit between 2.5 and 4 centimeters back from the clean folded edge.
- The back of your head must rest on the floor beyond the stack, with the floor at a lower level than your shoulders.
- The C7 vertebra must sit fully in open air, clearing the blanket edge completely.
- The base of the skull must slide slightly away from the shoulders to encourage elongation rather than jamming.
Test the positioning before swinging your legs overhead into Plow pose (Halasana). Reach both hands behind your neck to feel the cliff edge. Your fingers should slide freely between your cervical spine and the space beneath it. If your shoulders are flush with the edge, you will slip off the platform once your hips rise. If your shoulders are set 7 centimeters or more inward from the edge, your neck will catch on the blanket shelf, bending your cervical vertebrae and defeating the purpose of the platform.
Using a loop strap around elbows to hold width
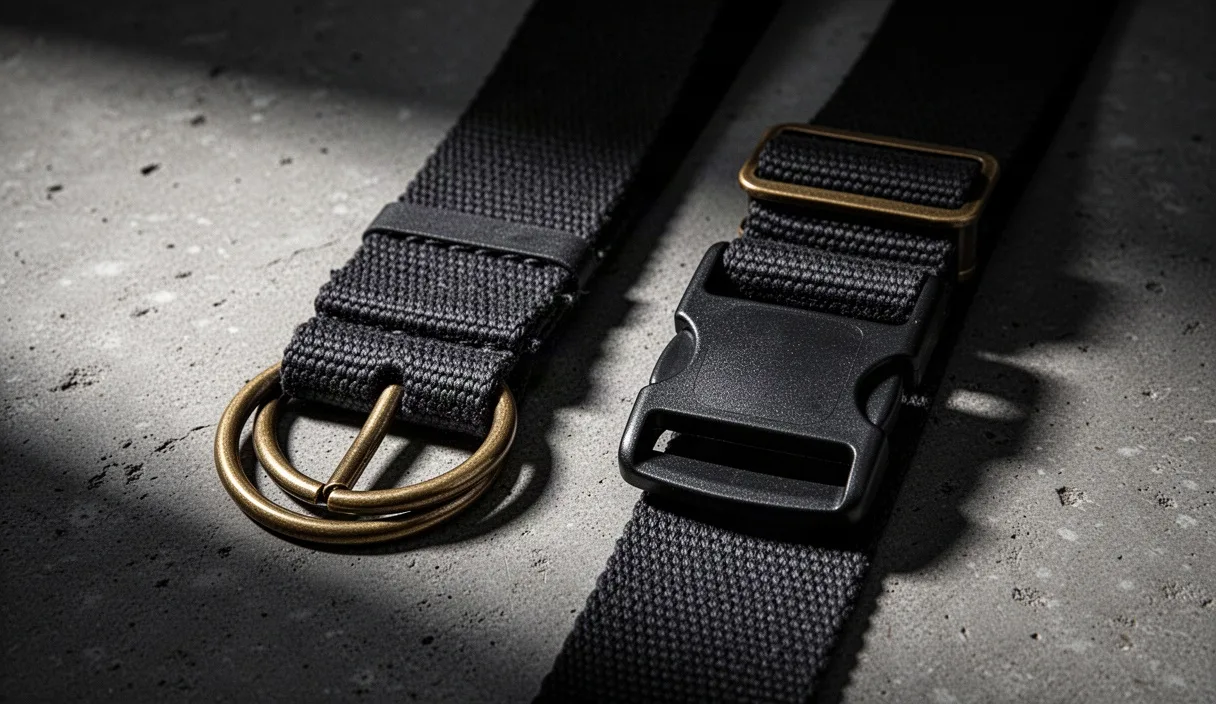
When the body inverts, the humerus bones naturally rotate outward, causing the elbows to flare away from each other. As the elbows slide wide, the weight drops off the muscular upper arms and crashes straight down into the neck and upper spine. A non-elastic cotton webbing strap fixes your elbow width and creates a rigid tripod base between your two elbows and your shoulder shelf.
Prepare the strap before you begin the inversion:
- Thread the strap through both metal D-rings, then loop it back through the single ring to lock the friction buckle.
- Slip the loop over your arms, setting it just above your elbow joints on the lower triceps. Do not place the strap directly over the elbow bones or down around the forearms.
- Adjust the diameter of the loop so it matches the exact width of your outer shoulders. Measure this by extending your arms forward, pulling the loop taut against the outside of your arms, and confirming the webbing runs parallel from arm to arm without bowing outward.
- Rotate the metal buckle so it sits in the open space between your arms, not pressing into your skin or bone.
When entering the pose from Halasana, press your hands flat against your mid-back, draw your shoulder blades toward each other, and loop the strap around one arm. Kick up, or walk your feet into position, then slip the second arm through the loop. Push your upper arms outward against the resistance of the strap. That outward isometric tension secures the foundation, lifts the thoracic cage, and keeps the cervical spine floating securely above the blanket drop-off.
Common mistakes
Avoid these specific mechanical errors when assembling and using your blanket support:
- Fringe facing the neck: Laying the blanket stack so the fringed or multi-seamed edge faces the head. Fringe compresses unevenly and frays, destabilizing the base. Only the smooth, single-crease edge can face the neck drop-off.
- Using too few blankets: Two thin blankets compress down to less than 1.5 centimeters, which provides zero functional relief for an adult cervical curve. Use a minimum of three dense blankets, or four if you have broad shoulders or a stiff upper back.
- Turning the head while inverted: Rotating the head to look at a teacher, a mirror, or a screen while under vertical compression. Looking to the side while the neck is flexed twists the cervical facet joints under load and can trigger immediate muscle spasms. Keep the gaze fixed permanently on your chest or toes.
- Elbows drifting wider than the shoulders: Practicing without a strap before you develop the rhomboid and posterior deltoid strength needed to hold the arms parallel. Once the elbows slide out past shoulder width, the chest collapses and spinal load spikes.
Practical next steps
Before attempting a full five-minute hold in Salamba Sarvangasana, run a structural trial on your props. Build your four-blanket stack against a clear wall space. Lay your mat over the stack, fit your strap to outer-shoulder width, and set up your entrance.
Roll backward into Halasana with your toes resting on a chair seat or directly on the wall behind you, keeping your hands supported on your back. Do not take your feet up into the air yet. Stop in this modified position and reach one hand back to touch your C7 vertebra. Verify that this bone floats completely free of the blanket ledge, with at least two fingers of open clearance between the bone and the floor. Verify that your head rests effortlessly on the floor without any sensation of chin-to-chest suffocation.
If the space feels constricted, roll out smoothly, add a fourth or fifth dense cotton blanket to increase the shelf height, and retest. Once your clearance is confirmed, you can systematically build up your hold times from 60 seconds upward, confident that your bones and soft tissues are supported by sound geometry.