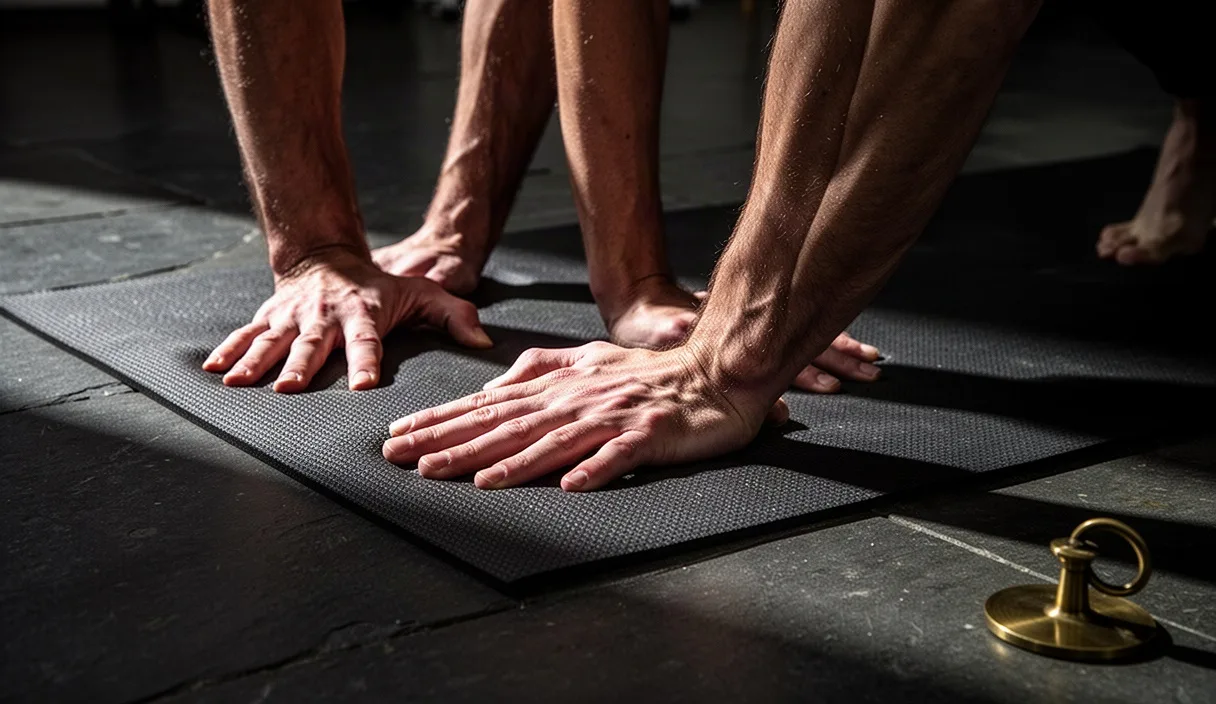

Wrist pain in Downward-Facing Dog stops practice fast. The joint bears up to two-thirds of your upper body weight when your hands meet the floor, compressed into deep extension under load. If your palms dump force into the soft heel of your hand, the wrist joint pinches at the back edge and stretches the carpal tunnel tissues at the front. You do not need to abandon Adho Mukha Svanasana, but you must alter how your bones receive the load.
Most wrist irritation stems from mechanical collapse rather than wrist pathology. When the hand flattens out like an inert pad, the small carpal bones bear sheer compression against the distal ends of the radius and ulna. Correcting this requires active muscular engagement of the hands, adjusted forearm geometry, and stable load transfer through the kinetic chain of the arm. The following mechanical adjustments redistribute weight off vulnerable ligaments and onto muscular structures built to handle sustained tension.
Radial versus ulnar load distribution on wrists
The human wrist is not symmetrical. The radius, located on the thumb side of the forearm, possesses a broad articular surface that meets the scaphoid and lunate bones directly. It is anatomically structured to transmit roughly 80 to 85 percent of axial compression through the forearm. By contrast, the ulna on the pinky side falls short of the carpal bones. It relies on a fibrocartilaginous buffer called the triangular fibrocartilage complex (TFCC) to handle the remaining load. The TFCC lacks a robust blood supply and tears under excessive rotational shearing or localized compression.
Untrained practitioners routinely roll their weight toward the outer hand. This ulnar dump loads the pisiform and triquetrum bones, crushing the TFCC against the styloid process of the ulna. The fix requires an active shift of force toward the radial column: the index finger knuckle and the base of the thumb.
| Wrist Column | Primary Contact Point | Anatomical Structures Involved | Load Capacity |
|---|---|---|---|
| Radial (Inner) | Base of index finger and thumb | Distal radius, scaphoid, trapezium | High; thick bone surface built for axial compression |
| Ulnar (Outer) | Heel of outer palm, pinky edge | Distal ulna, TFCC, pisiform, hamate | Low; fibrocartilage disc prone to shearing tears |
To establish safe radial loading on your mat, set up on your hands and knees before pressing into the full pose. Follow this sequential weight calibration:
- Spread the index finger and thumb wide to create a firm baseline across the inner hand.
- Press the base knuckle of the index finger (the second metacarpophalangeal joint) down until the skin under that knuckle blanches pale.
- Root the pad of the thumb firmly against the rubber surface to create a counter-anchor.
- Keep the outer heel of the palm touching the floor, but reduce downward force until you could slide a thin sheet of paper under the outer wrist crease without tearing it.
Hasta bandha: gripping the mat with finger pads
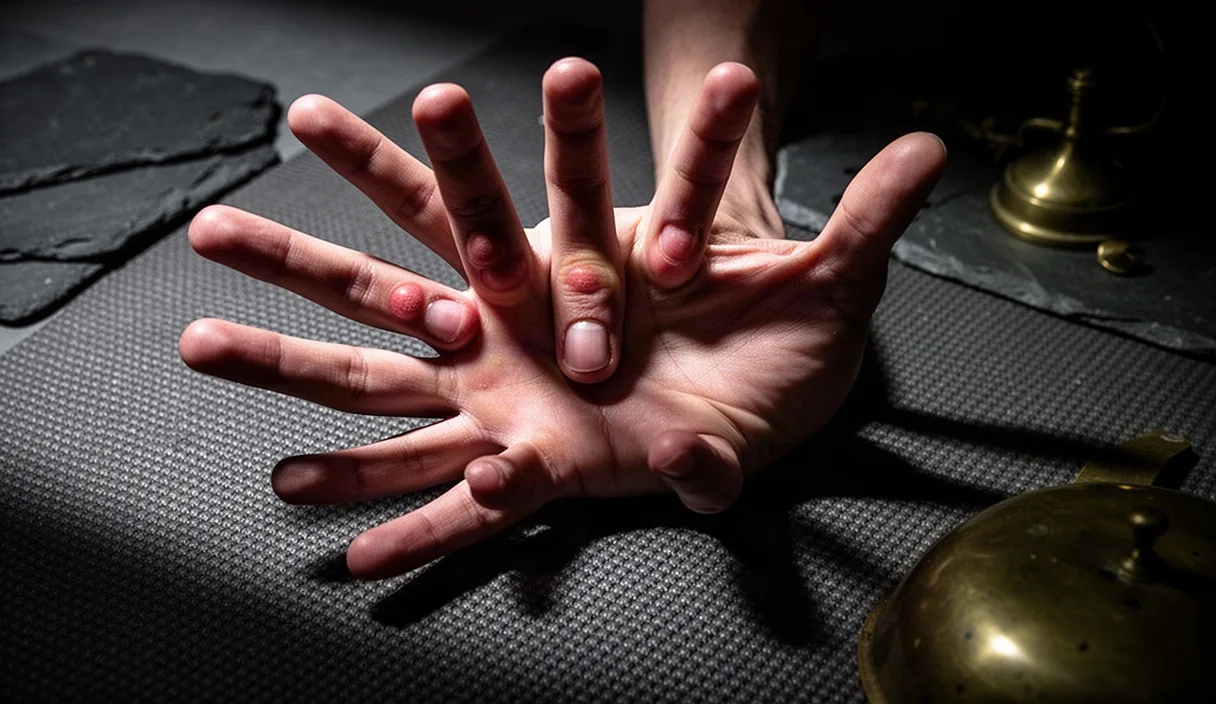
A limp hand is a collapsed hand. When your palm lies completely flat, the longitudinal and transverse arches of the hand collapse, pushing the carpal bones downward into the floor. In yoga biomechanics, the active muscular arch of the hand is called hasta bandha. Engaging it transforms your hand from a passive surface into an active suction cup that shares tension across 17 internal and forearm muscles.
Hasta bandha uses the flexor digitorum profundus and superficialis muscles alongside the intrinsic lumbricals and interossei. Engaging these muscles raises the center of the palm slightly off the rubber mat, creating a dome effect. This arching lifts the transverse carpal ligament away from the floor, widening the carpal tunnel and removing direct compression from the median nerve and long finger tendons.
Activate the hand lock through deliberate isometric contraction:
- Position hands shoulder-width apart, fingers spread evenly without hyperextending the web spaces.
- Press the distal pads of all ten fingers firmly into the rubber, bending the first knuckle of each finger by roughly 5 to 10 degrees.
- Imagine dragging your fingertips backward toward your wrist without moving them across the surface.
- Feel the center of your palm hollow upward as the tendons in your inner wrist firm and support the joint.
Maintain this isometric clawing through your entire exhalation into Downward-Facing Dog. If the finger pads lose contact or turn yellow from lack of active pressure, your carpal bones have returned to deadweight bearing. Lower your knees and reset the dome.
Hand rotation angle: parallel versus outward flare
Standard yoga alignment cues often insist that the middle fingers point straight forward, parallel to each other and the long edge of the mat. For a large percentage of practitioners, this instruction directly triggers wrist compression. When the middle finger points straight forward, the forearm sits in full pronation while the shoulder enters flexion and external rotation. This combination creates an antagonistic torque between the distal forearm and the humerus.
Rotating the hands outward by 10 to 15 degrees changes the joint mechanics. When the index finger points straight ahead, or slightly outward toward the top corners of the mat, two mechanical improvements occur immediately:
- The angle of wrist extension decreases slightly, reducing dorsal carpal pinch.
- The radius and ulna sit in a neutral uncrossed alignment, clearing space in the radial notch.
- The humerus rotates outward into the shoulder socket with less resistance, unlocking space beneath the acromion process.
| Hand Alignment | Rotational Angle | Forearm Mechanism | Primary Mechanical Risk |
|---|---|---|---|
| Strict Parallel | 0 degrees (middle fingers forward) | Full pronation under load | Binds the distal radio-ulnar joint; pinches dorsal wrist |
| Slight Flare | 10 to 15 degrees outward (index fingers forward) | Neutral-pronation blend | None; maintains balanced radial and ulnar clearance |
| Wide Flare | 30 to 45 degrees outward | Supination tendency | Loads the outer ulnar margin; reduces index knuckle purchase |
Test your rotation angle on hands and knees. Place your hands parallel with the middle fingers forward, then shift your shoulders past your wrists. Note any sharp pressure at the back of the wrist joint. Now, pivot both hands outward until your index fingers point parallel with the long edge of your mat. Repeat the forward shift. If the dorsal pinch softens or disappears, keep this flared rotation as your permanent default placement.
Using a wedge block for restricted extension
Healthy wrist extension varies significantly across individuals. The typical range of passive wrist extension sits between 65 and 75 degrees. Full Downward-Facing Dog requires a clear 90-degree angle between the back of the hand and the anterior forearm. If bone morphology, thick joint capsules, or shortened flexor tendons limit your extension to 70 degrees, forcing the hand flat on the floor drives the carpal bones directly into the dorsal lip of the radius.
No amount of muscular activation can bypass a structural joint stop. When hard bone meets hard bone, continuing to load the pose causes microtrauma, synovial inflammation, and ganglion cysts. The physical intervention is straightforward: elevate the heel of the hand to widen the interior angle of the joint.
A dense foam or cork yoga wedge provides an angled platform that reduces extension requirements. An incline of 12 to 15 degrees shifts the wrist from an impossible 90-degree angle into a manageable 75-degree position. To use a wedge properly:
- Place the sloped wedge across the front width of your mat, with the thick edge facing toward the rear of the mat.
- Rest the heels of your palms along the elevated edge, letting your fingers slope downward toward the front edge.
- Anchor your finger pads onto the mat surface past the edge of the wedge to maintain the gripping mechanics of hasta bandha.
- Alternatively, fold the front edge of your sticky mat two or three times to form a firm 0.5-inch lip beneath the palms.
Wedges are diagnostic tools, not permanent crutches. If using an incline relieves joint pain while your muscular engagement remains intact, you have confirmed that extension restriction was your primary issue. Maintain the wedge during weight-bearing sequences while working on wrist mobility drills separately off the mat.
Shoulder girdle linkage that relieves palm pressure
The wrist is the terminal link in a structural chain that begins at the ribcage. When the muscles stabilizing the scapulae and glenohumeral joints disengage, gravity pulls the torso down toward the floor. This dead load travels straight down the humerus, radius, and ulna, jamming directly into the carpal tunnel. You cannot solve wrist pain at the hand alone if the shoulder girdle is sagging.
The serratus anterior and lower trapezius muscles are the primary engines for relieving wrist compression in inversions. The serratus anterior originates on the upper eight ribs and inserts onto the costal surface of the scapula. When it contracts, it pulls the shoulder blade upward and outward along the ribcage, a movement called upward rotation and protraction. This action acts like an active suspension bridge, lifting the weight of the torso away from the hands.
To integrate the shoulder girdle and offload the wrists in Downward Dog, run through this recruitment sequence:
- From the floor, press into your radial knuckles and push the floor away to broaden the upper back across your shoulder blades.
- Turn your armpits inward toward your face to externally rotate the humerus, clearing the subacromial space.
- Wrap the outer edges of your armpits down toward the floor; this fires the serratus anterior and latissimus dorsi.
- Draw your sitting bones up and back toward the ceiling, actively pulling your center of mass backward away from your wrists and toward your pelvis and heels.
A simple weight check confirms proper recruitment: in an active Downward-Facing Dog, your hands should carry roughly 40 to 45 percent of your total weight, while your feet and legs carry the remaining 55 to 60 percent. If your shoulders slide forward past your wrist creases, your hands are forced to hold more than 70 percent of your body mass. Shift your hips back until your torso forms a long, straight diagonal from wrists to pelvis.
Common mistakes
Many yogis try to manage wrist pain with quick adjustments that worsen joint mechanics. Avoid these documented errors:
- Cupping the hand entirely: Lifting the metacarpal knuckles off the mat concentrates the entire weight onto the outer heel of the hand and the fingertips, bypassing the radial shock absorption system.
- Over-spreading the fingers: Hyperextending the web spaces between your fingers creates passive ligament strain across the palm and locks the intrinsic hand muscles, making hasta bandha impossible to sustain.
- Sinking into the shoulders: Allowing your collarbones to collapse toward the floor to mimic deep spinal flexibility compresses the rotator cuff tendons and increases downward force onto the wrists by 20 to 30 pounds.
- Ignoring sharp lateral pain: Continuing to bear weight through a sharp, clicking, or burning sensation on the pinky side of the wrist can turn a minor TFCC sprain into a structural tear.
Next steps
Fixing wrist mechanics requires incremental adjustment over multiple sessions. Do not expect hand-pattern habits to reset automatically during a fast-paced vinyasa class. Implement these actionable changes starting with your next practice:
- Spend 3 minutes warm-up time on hands and knees performing slow wrist circles and isometric finger presses before loading the full pose.
- Pivot your hands outward by 10 to 15 degrees on every weight-bearing posture, aligning index fingers straight ahead.
- Keep a 15-degree wedge or a folded mat strip adjacent to your mat space; integrate it immediately if you feel joint-compression pain during Sun Salutations.
- If you experience persistent burning, swelling, numbness, or tingling in the thumb or first two fingers, stop weight-bearing exercises immediately. These symptoms indicate nerve involvement or structural damage, and you should consult a licensed physical therapist, orthopedist, or sports medicine physician for a clinical evaluation.